How to Make Linocut Prints Step-by-Step
A simple step-by-step guide to creating your first linocut print, from carving to printing.
Learning how to make linocut prints is easier than you might expect. With a few basic tools and some patience, you can create striking handmade artwork at home.
Step 1: Design Your Image
Start with a simple, high-contrast design. Remember that linocut prints are in reverse, so text, directional images, and your imagination are mirrored before you start carving.
Step 2: Transfer the Design to Linoleum
You can draw directly onto the linoleum or transfer your design using tracing paper. Clear lines make carving easier and more precise.
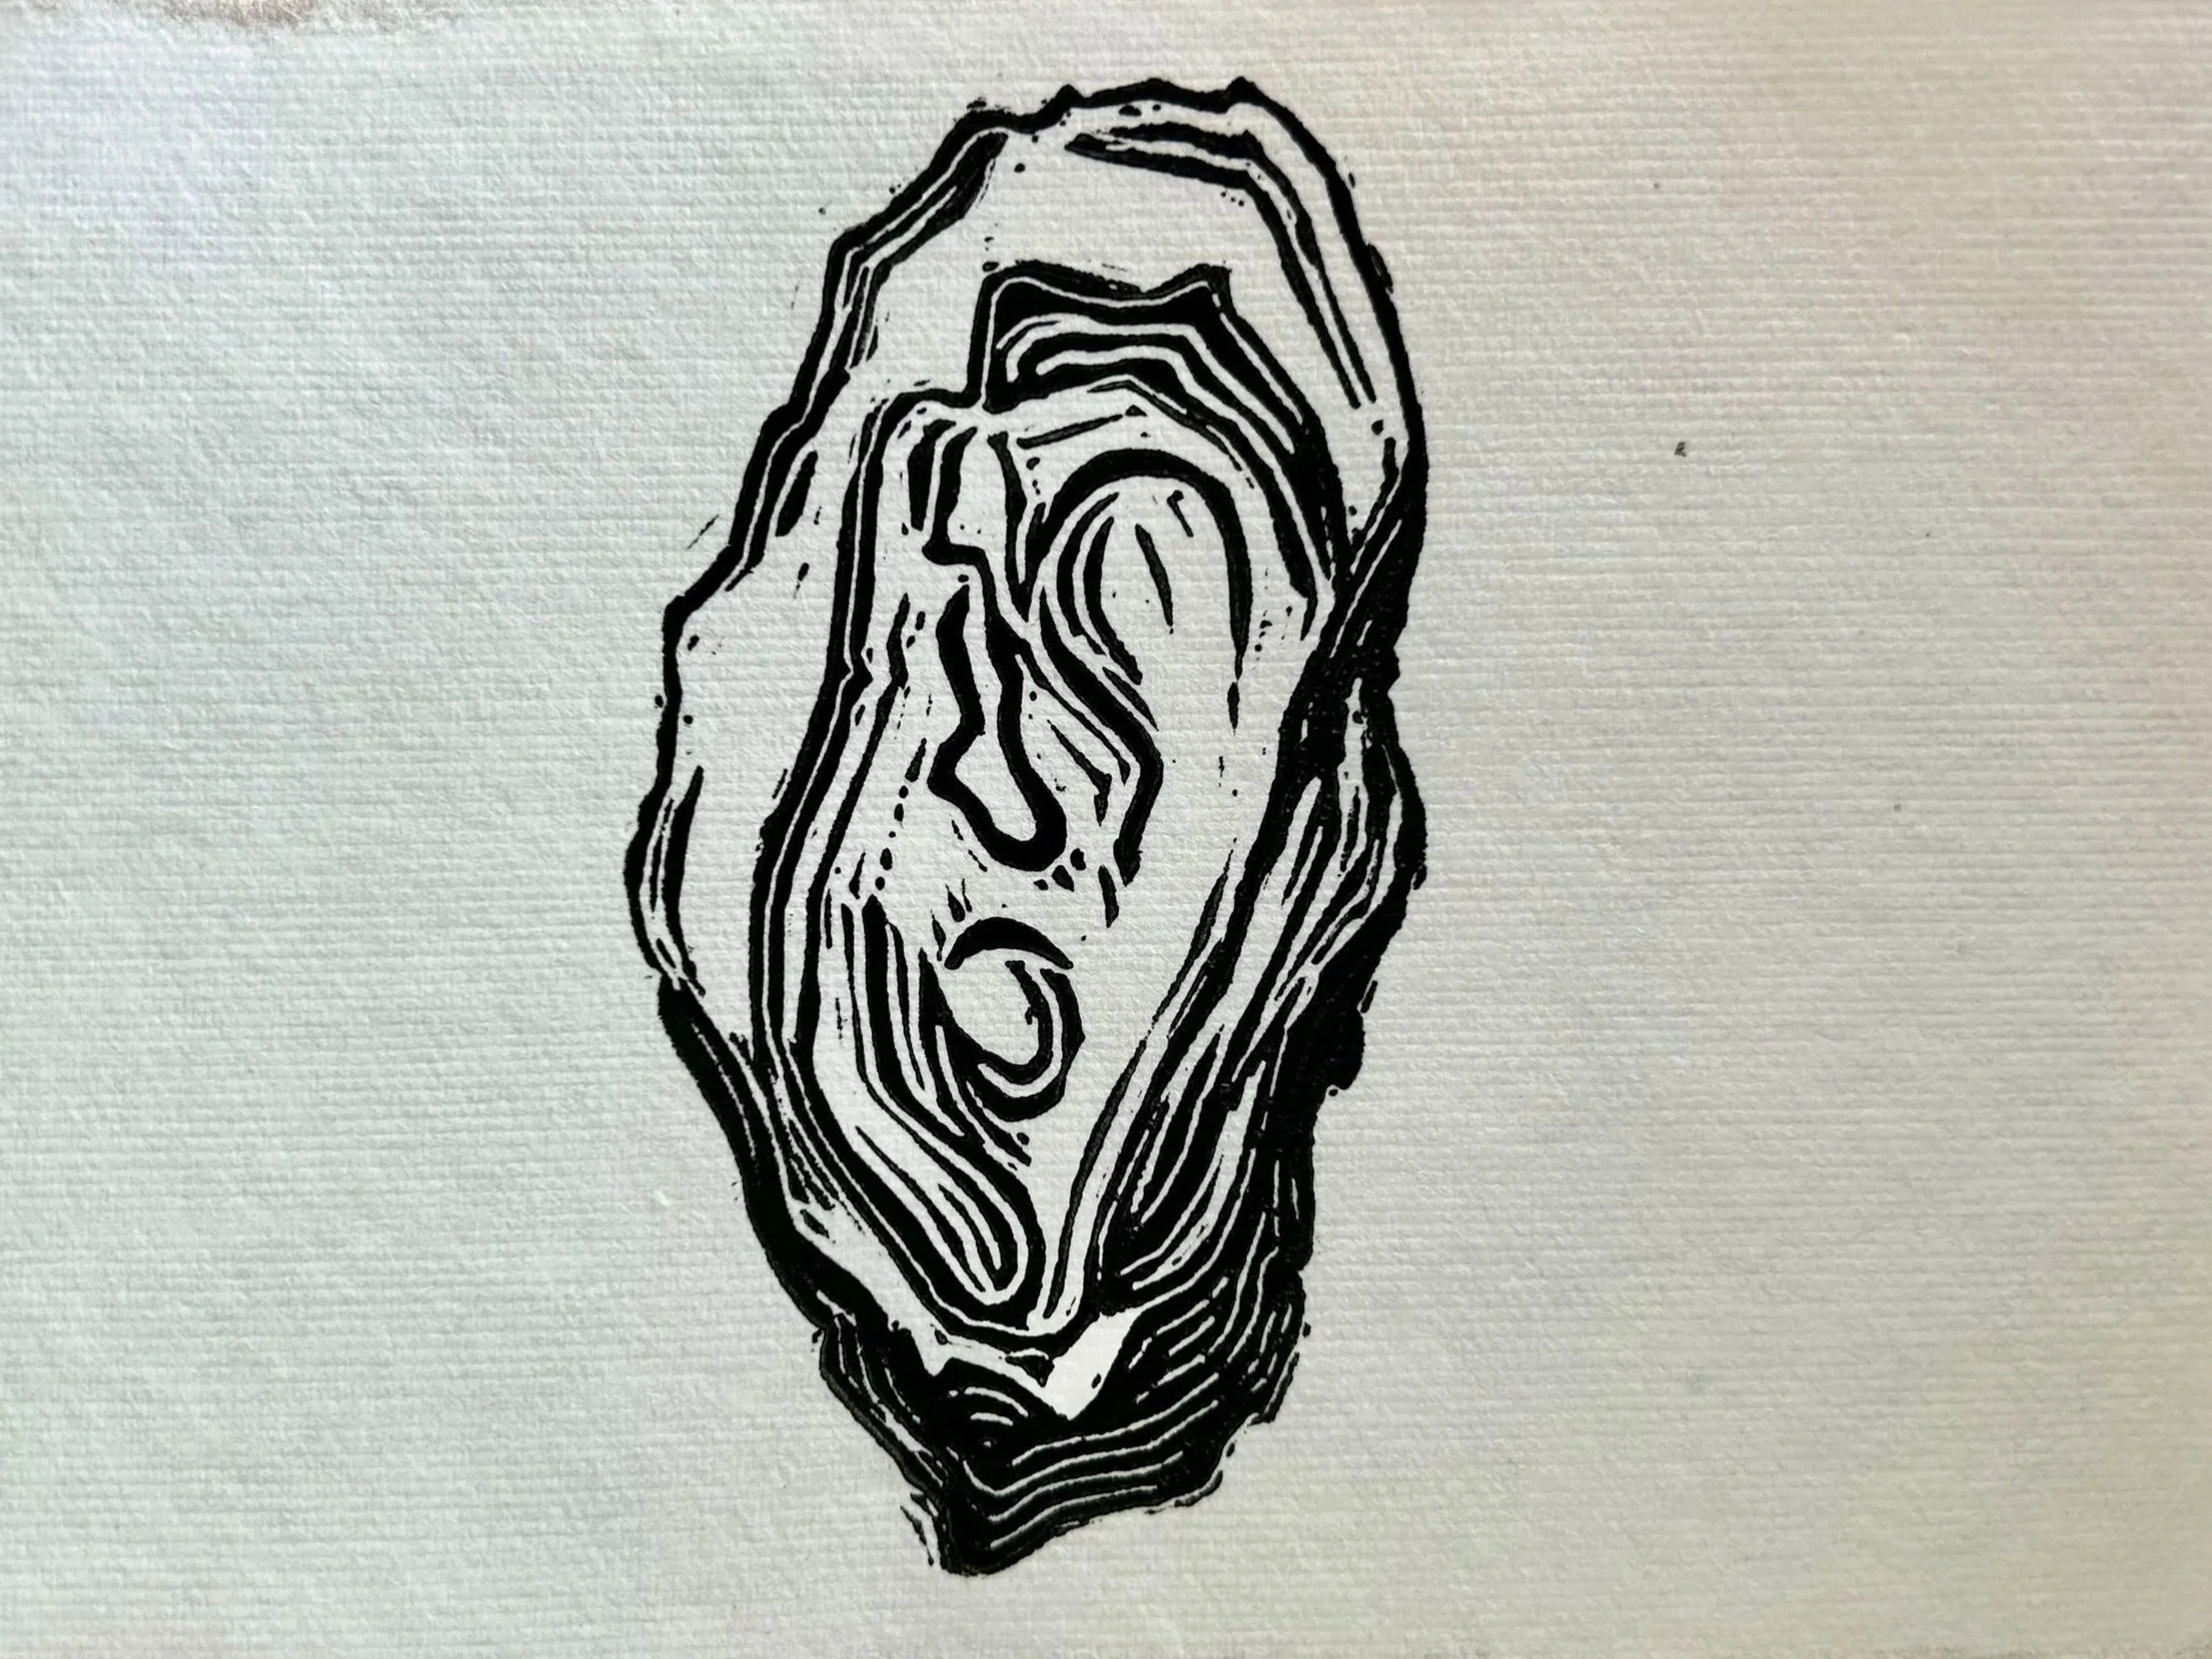
Step 3: Carve the Linoleum Block
Using carving tools, remove the areas you want to remain blank or unprinted. Take your time, breathe, feel the tools! Keep it slow, shallow cuts are safer and cleaner.
Step 4: Ink the Block
Roll ink evenly onto the raised surface of the linoleum. Too much ink may blur the smaller details; too little can cause prints to come out a bit uneven.
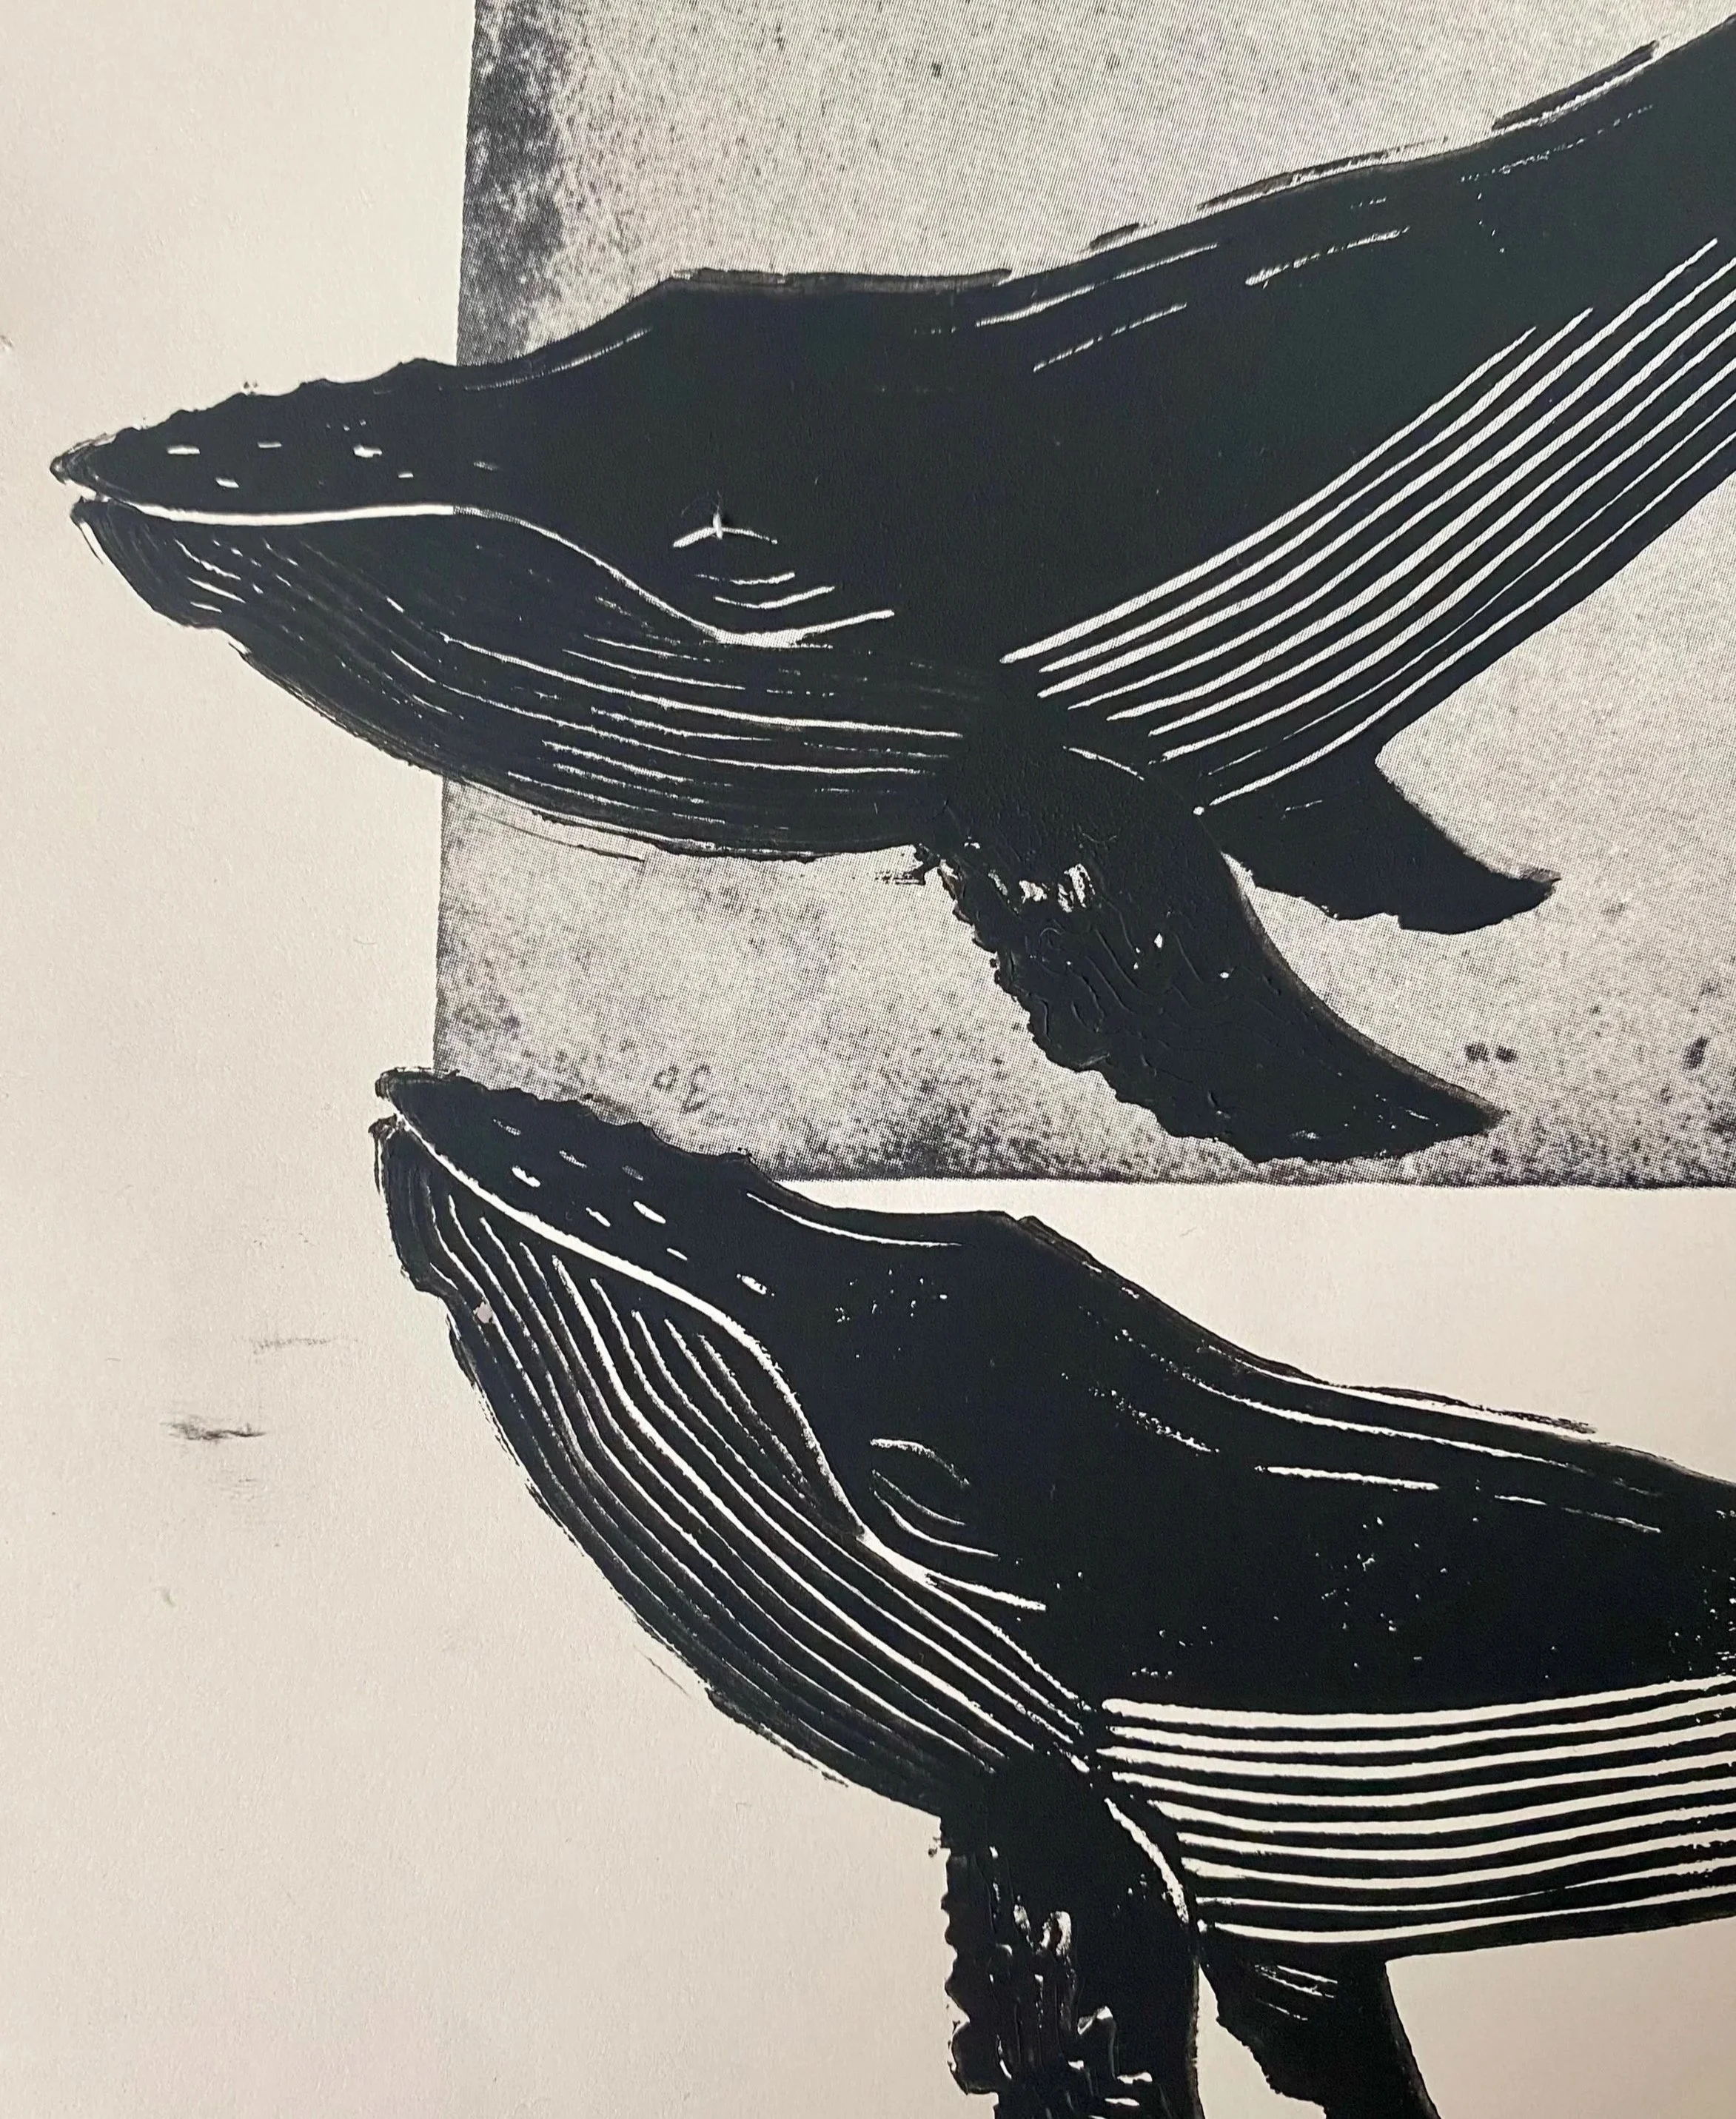
Step 5: Print Your Linocut
Place paper over the inked block and apply pressure using a printing press or by hand with a spoon or baren. Carefully peel the paper away to reveal your print.
Step 6: Experiment and Improve
Linocut printing is rewarding and rewards experimentation. Try different papers, ink colors, or layered prints as your skills grow!
Last but not least…
Make a few extra copies to share with friends and family. Check our Etsy for Mother’s Day gift ideas, plus, tag @the_northward_studio below for a shoutout on our page!